
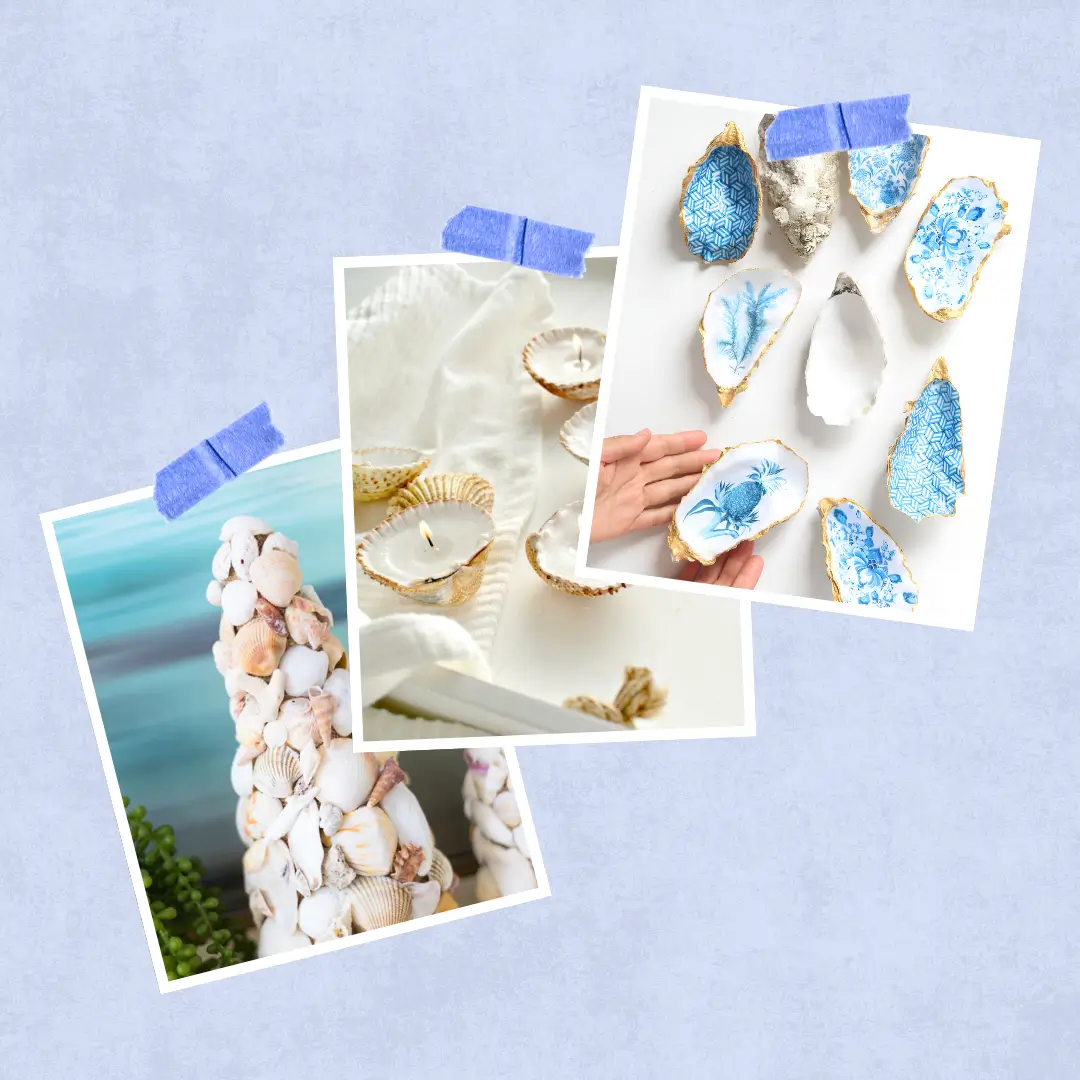
If you’re anything like us, every beach trip ends the same way: pockets full of sand, a phone full of sunset photos, and a growing collection of seashells that somehow never makes it past the junk drawer.
But those shells deserve better than a life gathering dust.
Whether you’ve got a handful of scallop shells from last summer or you’re planning a trip specifically for collecting seashells, this list has something for every skill level.
We’re covering everything from simple seashell candles and shadow boxes to more involved wall art and even a few seashell Christmas tree ornaments for when the holidays roll around.
Ready to turn your beach haul into real home decor? Let’s get into it.
1. DIY Seashell Wreath
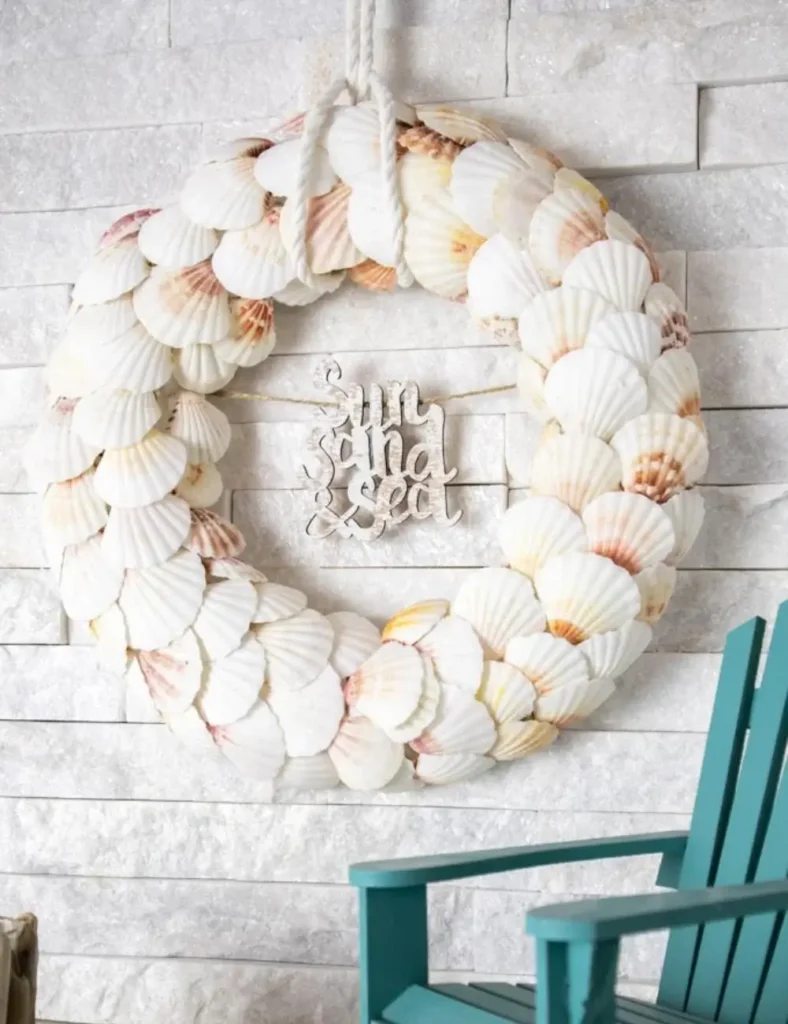
Give your front door a permanent vacation vibe with this scalloped seashell wreath. Working row by row around a foam wreath form, mostly white shells overlap for that classic beachy, scalloped texture, finished off with a beachy wood phrase and a cotton rope hanger for a rustic touch.
2. Simple Clay Seashell Craft
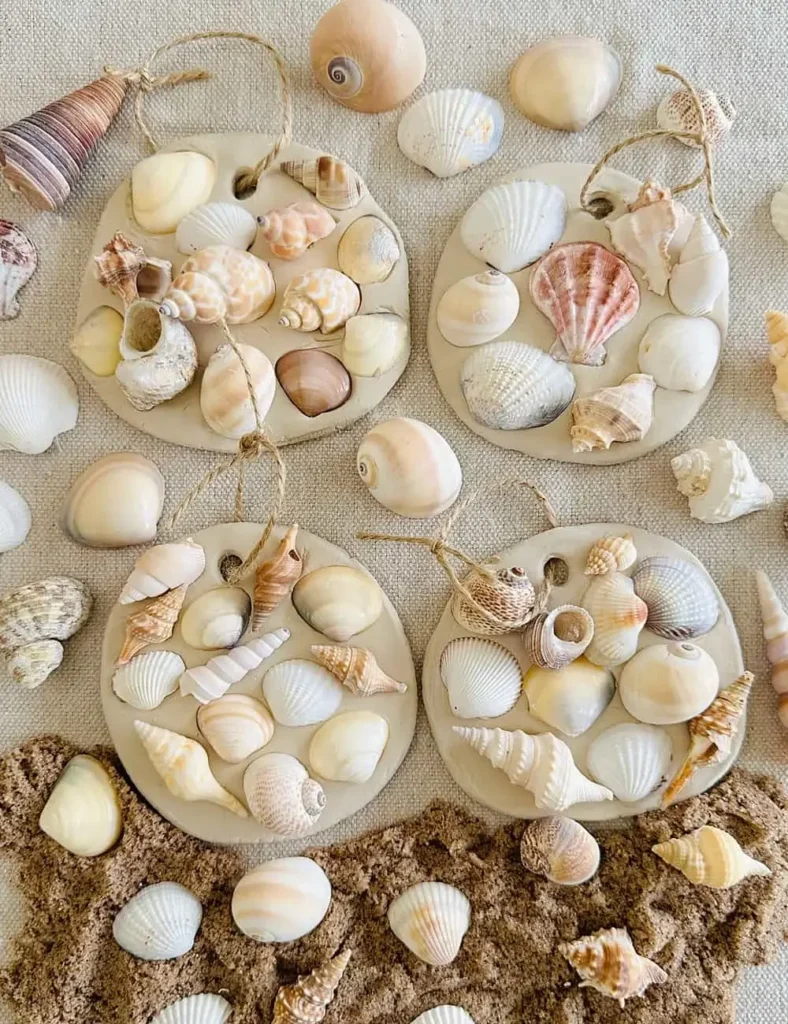
Press real shells into air-dry clay for a rustic, handmade ornament that looks straight out of a coastal boutique. Roll the clay about ⅜ to ½ inch thick, press your shells in firmly, poke a hole for hanging before it dries, and thread it through twine once it’s fully hardened.

3. Napkin Decoupage Trinket Dish
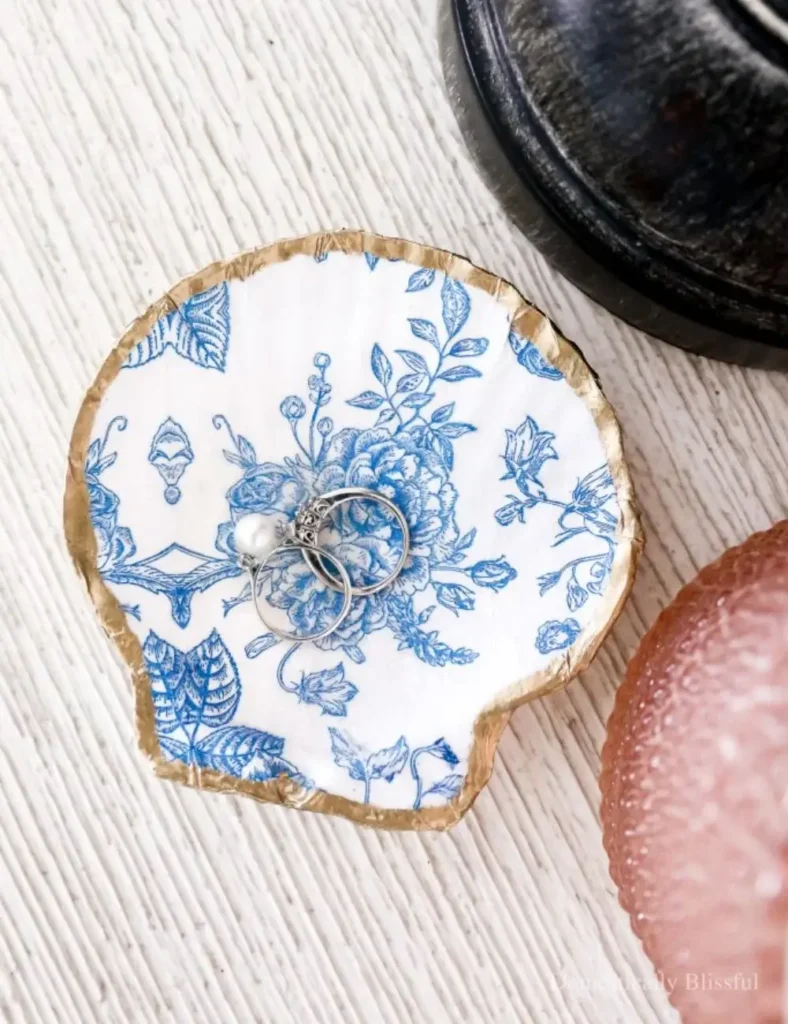
Turn a large seashell into a chic little catchall using the decoupage napkin technique. Mod podge a floral napkin onto the inside of the shell, smooth out the wrinkles, trim the excess, and finish the edges with a gold paint marker for a polished, boutique-worthy look.
4. Seashell Wind Chimes
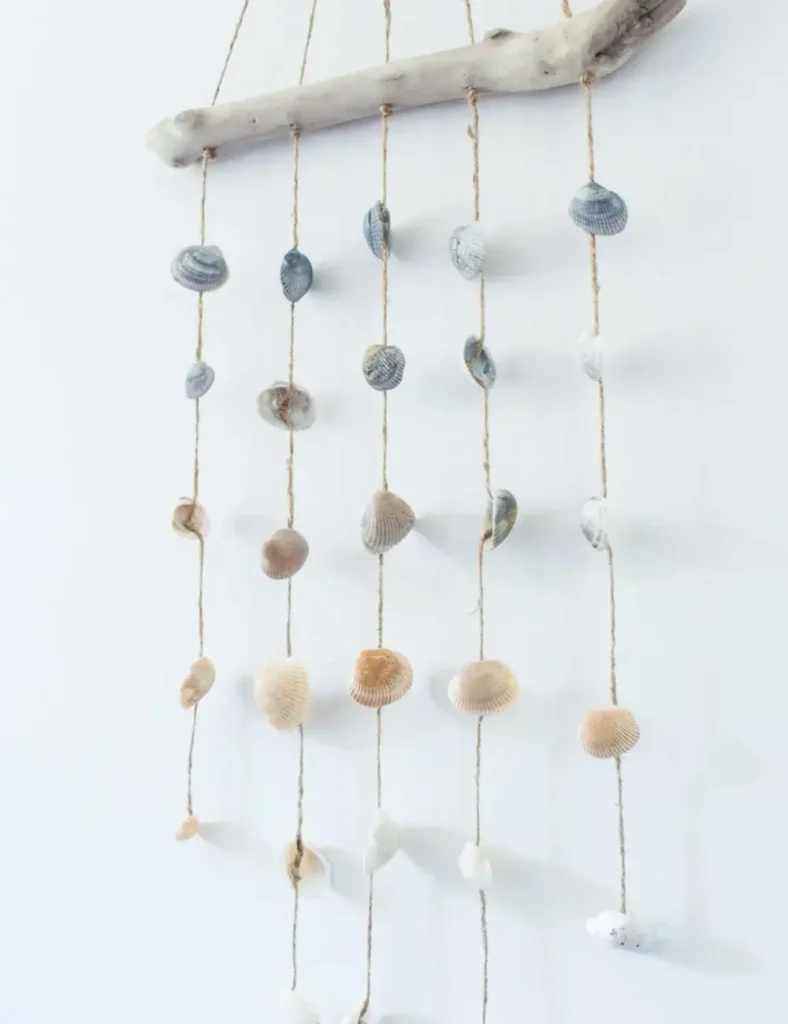
Bring a coastal cottage feel indoors or outdoors with this hanging wind chime made from driftwood and shells. Tie various shells to a driftwood or wooden dowel with jute twine at staggered lengths so it catches the breeze and clinks softly, perfect as a bedroom wall hanging or a patio accent.
5. DIY Seashell Decor Cones
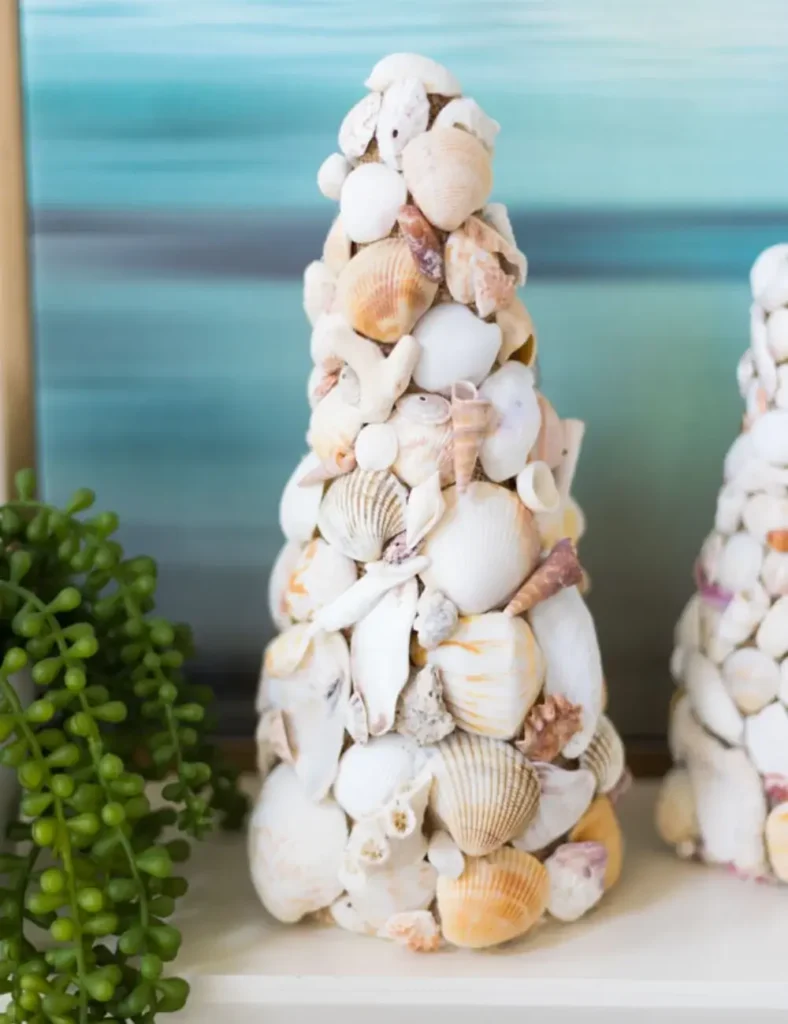
Turn styrofoam cones into a charming seashell “topiary” for your entryway or mantel. Wrap a foam cone in burlap ribbon, glue on your largest shells first, then layer smaller shells over the top to fill in any gaps, finishing with a shell at the very peak to cover the tip.
6. DIY Shell Garland
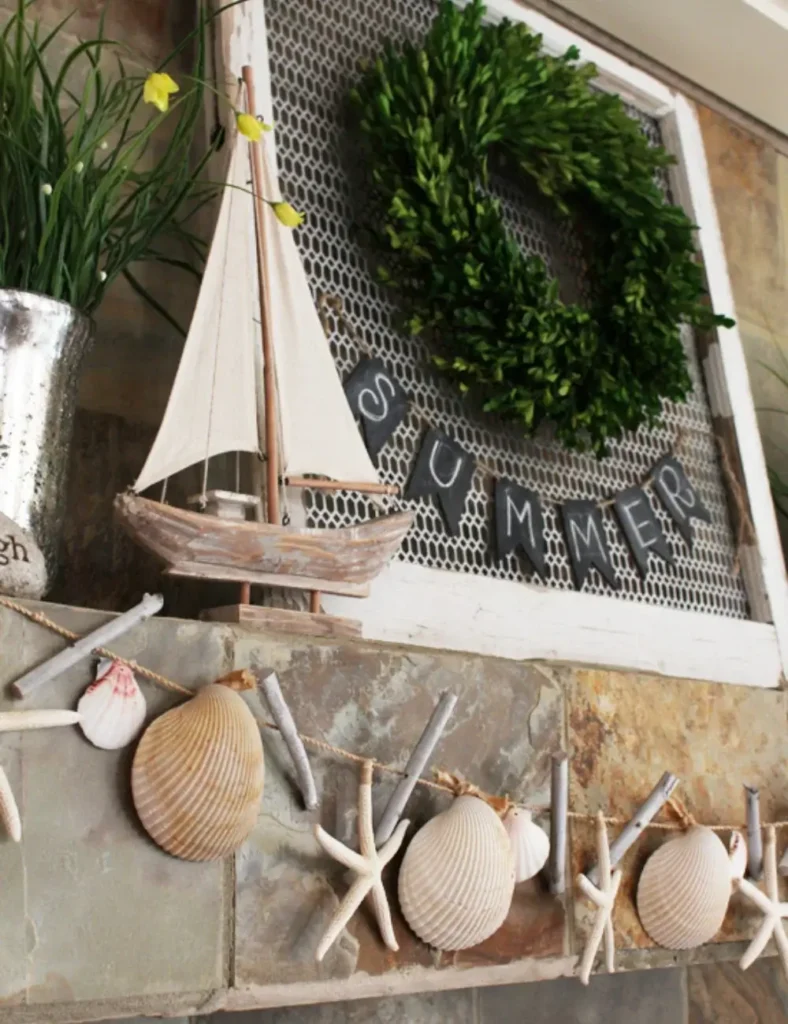
Give your mantel an instant coastal refresh with a shell garland. Start with a plain starfish garland, then drill small holes into scallop shells and larger shells to tie on with fishing line, mixing in whitewashed twig pieces for texture. Hang along a mantel or shelf with command hooks for an easy, no-damage summer refresh.
7. DIY Beach Tray with Seashells
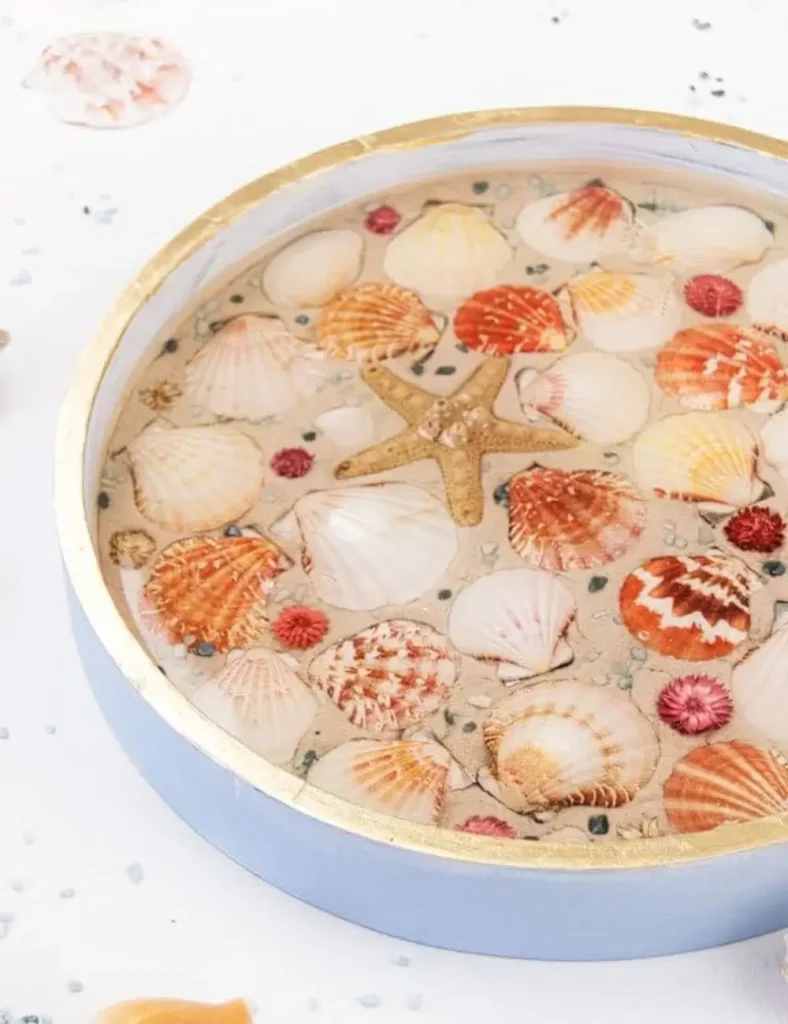
Create a showstopping coffee table tray with a faux “underwater” effect. Press flat shells like clams and oysters into a sand and Mod Podge base inside a wooden tray, let it dry completely, then pour a layer of epoxy resin over the top for a glassy, beach-in-amber finish, perfect for entertaining or coffee table styling.
8. Anthropologie Style DIY Oyster Shell Trinket Dish
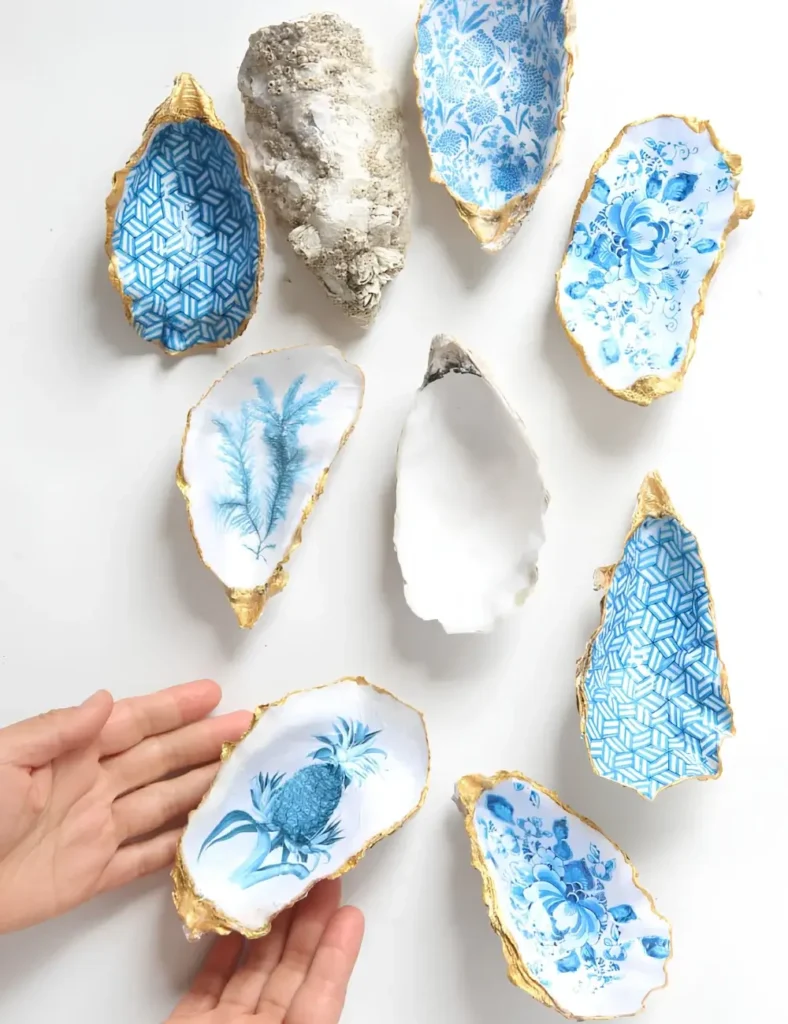
Get that pricey Anthropologie look for a fraction of the cost with a decoupaged oyster shell dish. Brush Mod Podge onto the inside of a clean oyster shell, press on a pretty printed napkin or paper design, seal with another coat of Mod Podge and finish with a hand-painted gold edge for a boutique-worthy jewelry or ring dish.
9. DIY Underwater Seashell Candles
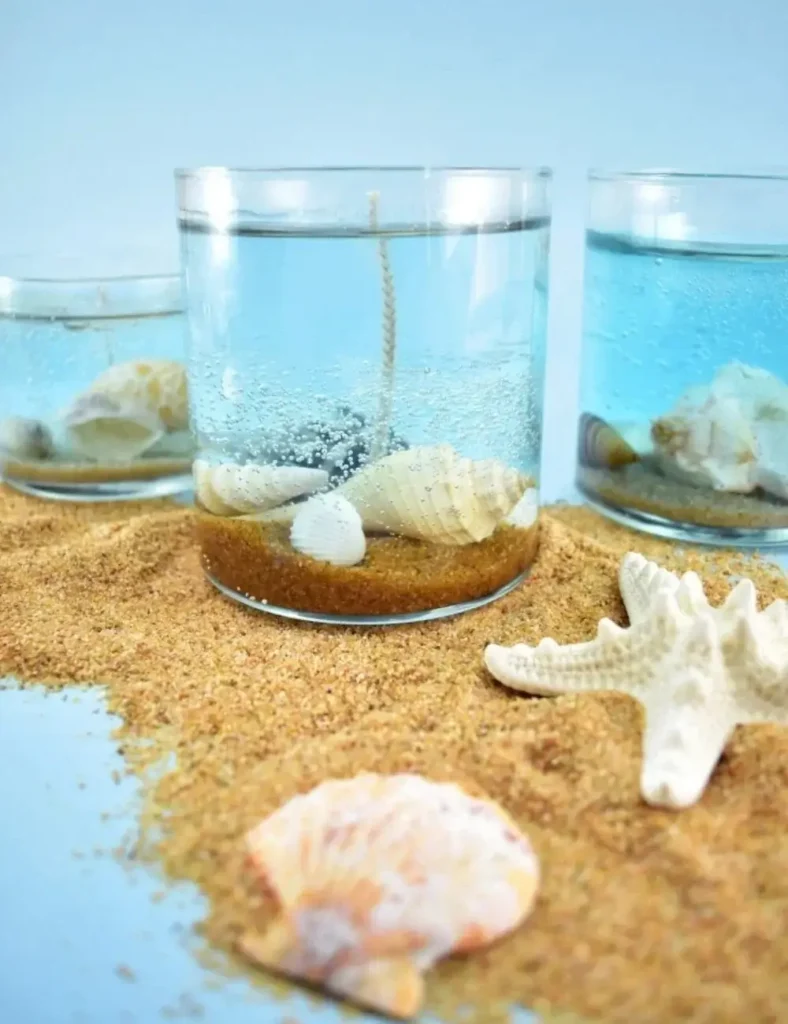
Layer sand and shells inside a clear glass jar, then pour melted gel candle wax over the top for a candle that looks like a little slice of ocean floor. Keep each pour thin to minimize trapped air bubbles, straighten the wick between pours, and choose a fragrance oil with a flashpoint of at least 170°F for safety.
10. Handmade Shell Candles
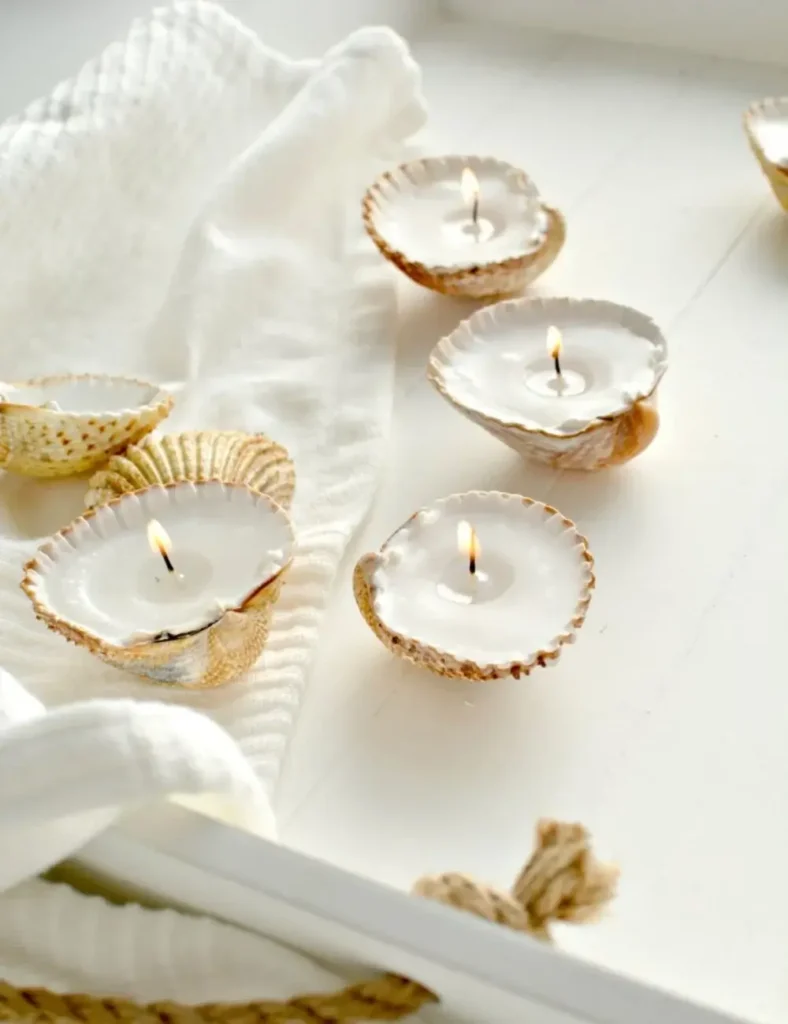
For a simpler candle project, turn deep shells into reusable tealights. Glue pre-waxed wicks into the center of clean, deep shells (the deeper the shell, the longer the burn time), then melt wax pellets over low heat and pour it in. Prop wobbly shells with an eggcup or a bit of putty while the wax sets, and once burned down, just pop out the old wick and refill.
11. Seashell Heart Wall Art
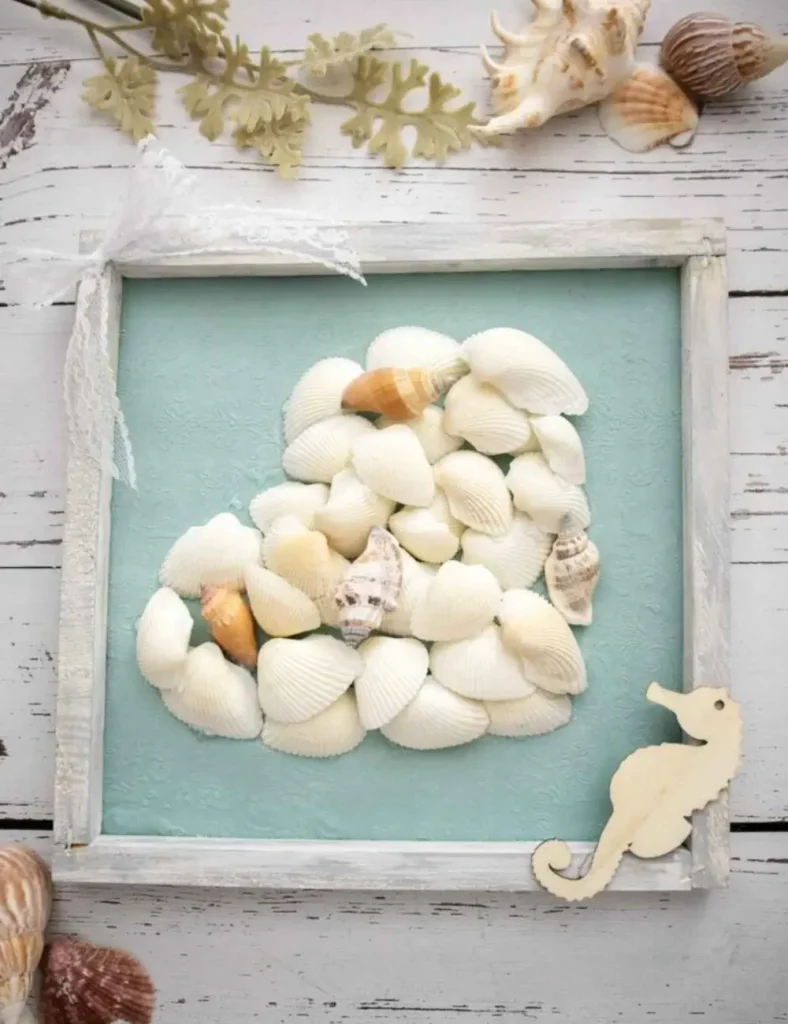
Combine decoupage and shell craft into a sweet piece of framed wall art. Decoupage a napkin onto a canvas, paint the frame with a driftwood-style wash of sand, gray and black, then sketch a heart outline and fill it in by gluing layered shells of varying sizes. Finish with a small seahorse or starfish accent and a lace bow for a piece that works for Valentine’s Day or year-round coastal decor.
12. Gold Seashell Christmas Ornaments
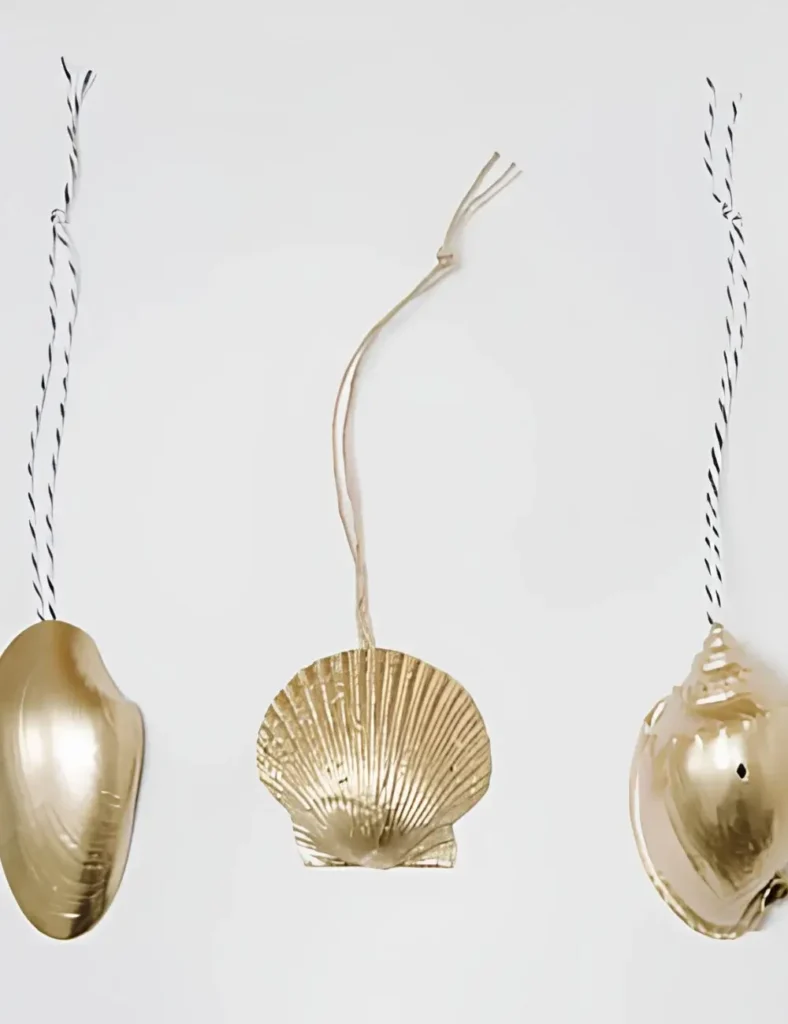
Bring a touch of coastal glam to your Christmas tree with gold-painted shell ornaments. Spray-paint clean shells gold, glue a 12-inch loop of string or twine to the back of each one, and knot the ends for hanging. Larger shells like conchs may need the string glued closer to the tip so they hang upright.
13. DIY Air Plant Jellyfish
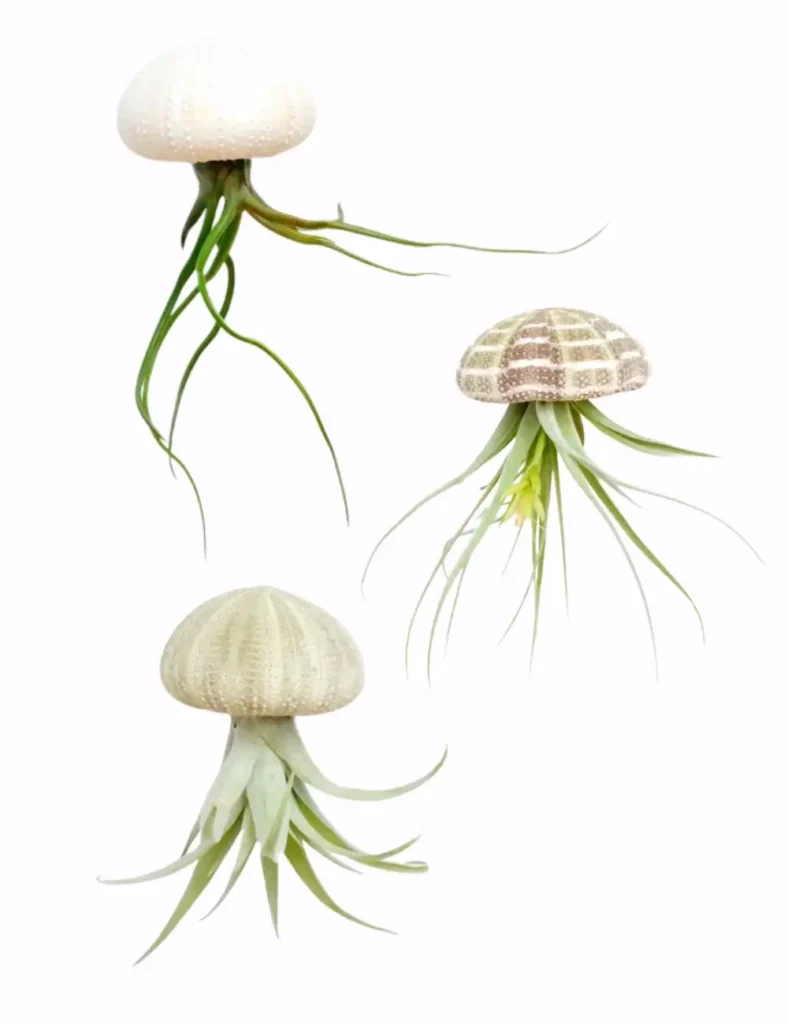
Turn sea urchin shells into whimsical hanging planters that look like little jellyfish. Thread clear fishing line through the shell’s existing hole (or attach with a dot of hot glue if there isn’t one), then glue an air plant into the inside of the shell so it dangles down like tentacles. Hang near a window and dunk the whole thing to water the plant, since it’s a sea shell, after all.
14. Gilded Oyster Shell and Wood Bead Garland
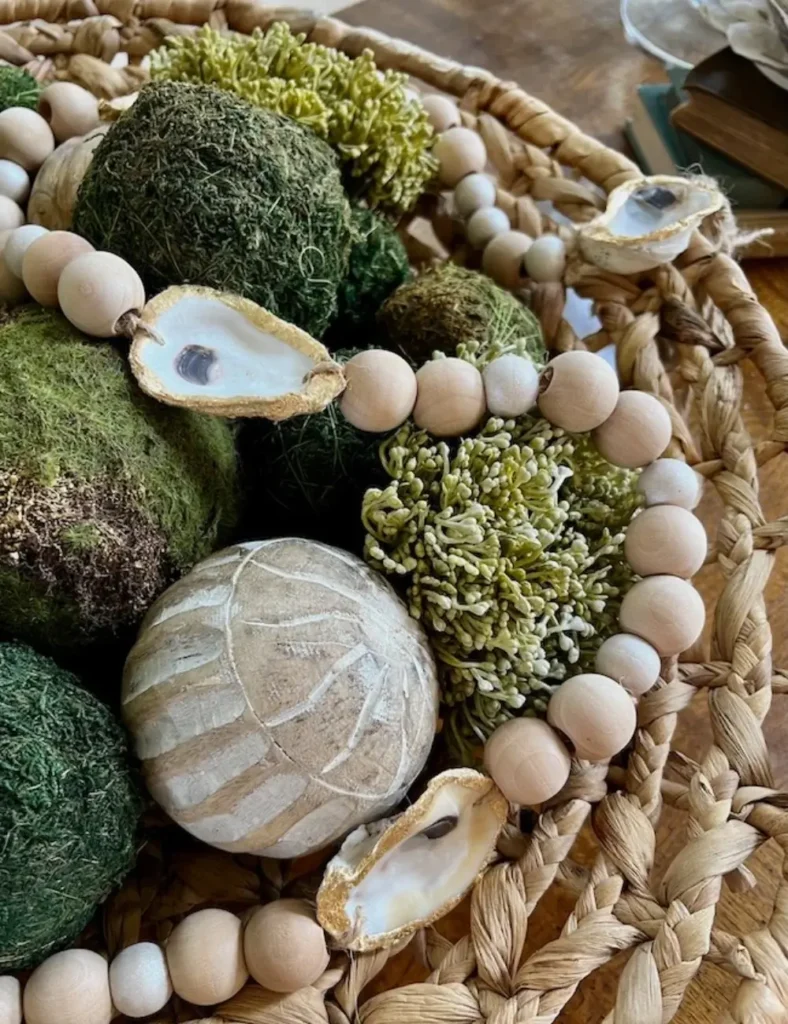
For a more elevated take on shell garland, drill small holes into clean oyster shells and gild the rims with gold leaf for a luxe touch. String the shells onto jute twine alternating with pearly white-painted wood beads, finish each end with a hand-tied jute tassel, and drape along a mantel, staircase railing, or bookshelf for understated coastal elegance.
15. Scallop Shell Ring Holder
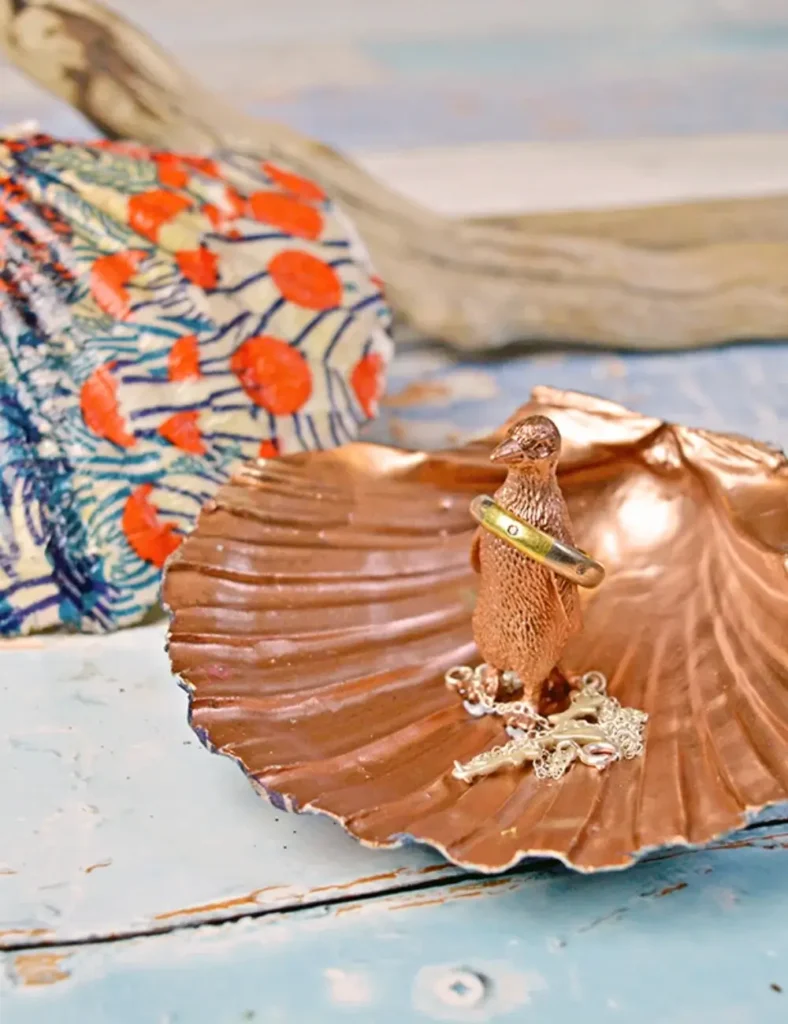
Turn a scallop shell into a functional ring dish for your nightstand. Spray paint the inside in a metallic shade like copper or gold, decoupage the outside with pretty napkin scraps, then glue a small sea creature figurine in the center as a playful spot to slide rings onto overnight.
16. Weatherproof Shell-Covered Planter
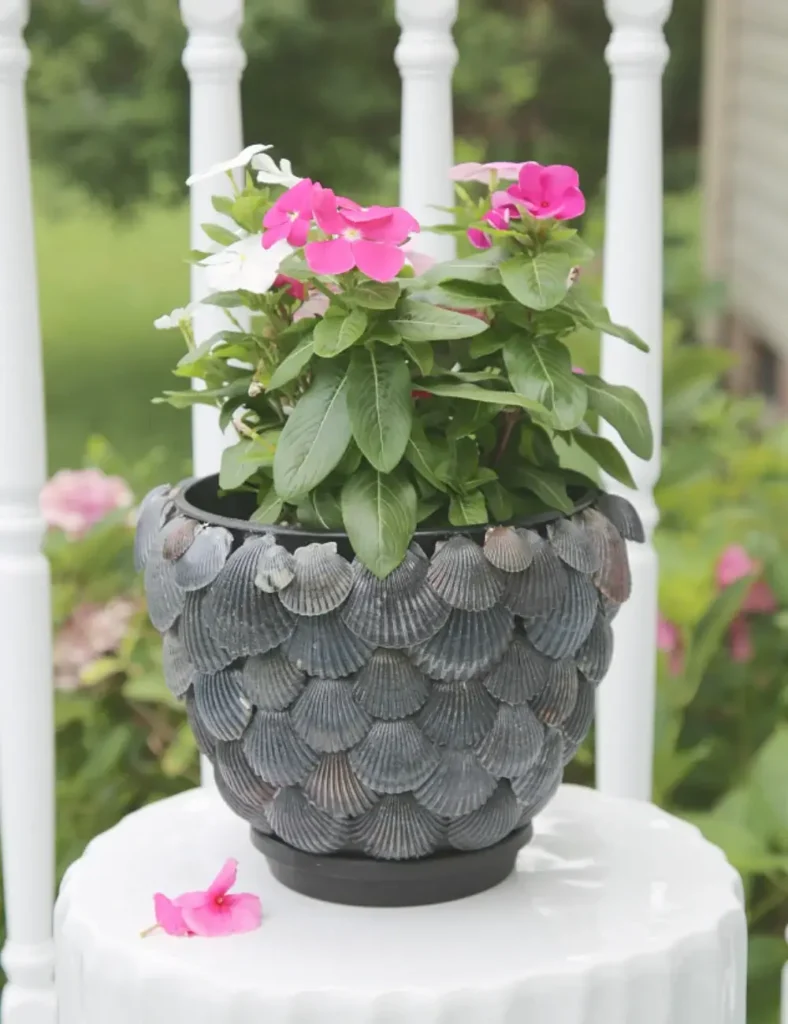
Give a plain planter pot a total coastal transformation. Glue scallop shells upside-down around the pot in overlapping, staggered rows (upside-down so rainwater drains out instead of pooling and going moldy), using hot glue to hold them temporarily and a stronger glue like Gorilla Glue Gel to secure permanently. Finish with a clear gloss spray to make the shells look wet and glossy.
17. Coastal Seashell Pumpkin
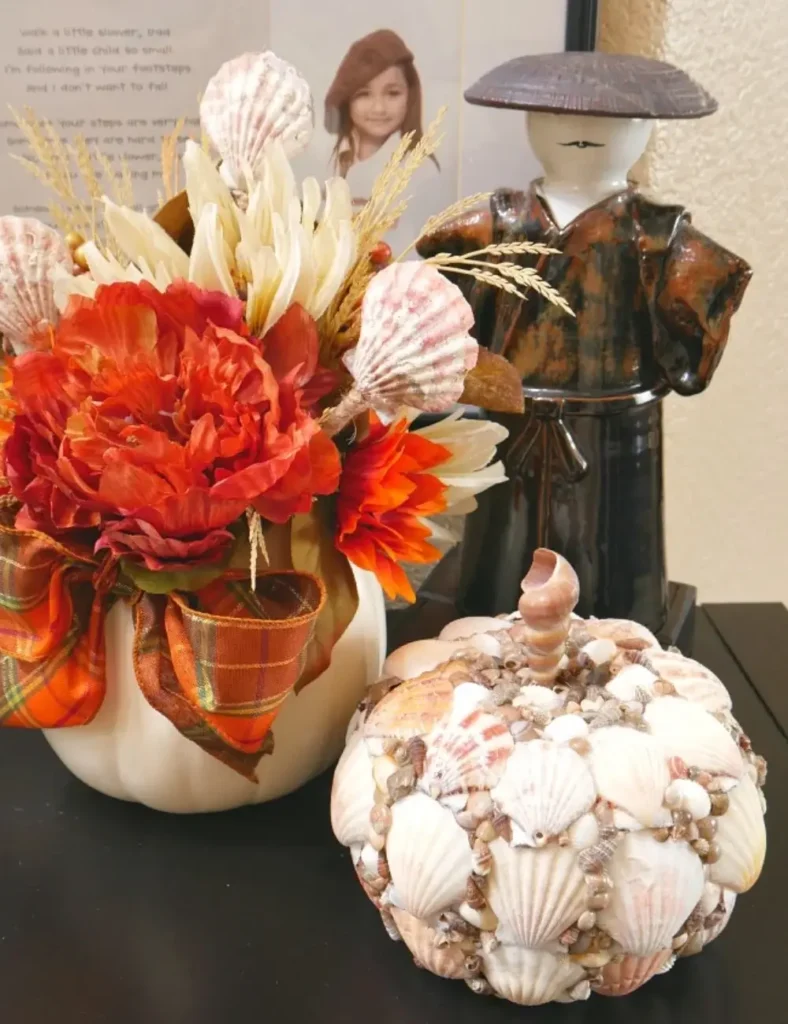
Blend beach style with fall decor by covering a foam pumpkin in shells. Paint a foam pumpkin white or beige, then glue larger shells vertically along the pumpkin’s natural ridges, working from top to bottom, and fill in the gaps between with smaller shells. Prop the pumpkin on its side between two cans while each section dries so the shells don’t slide.
18. Seashell Paperclips
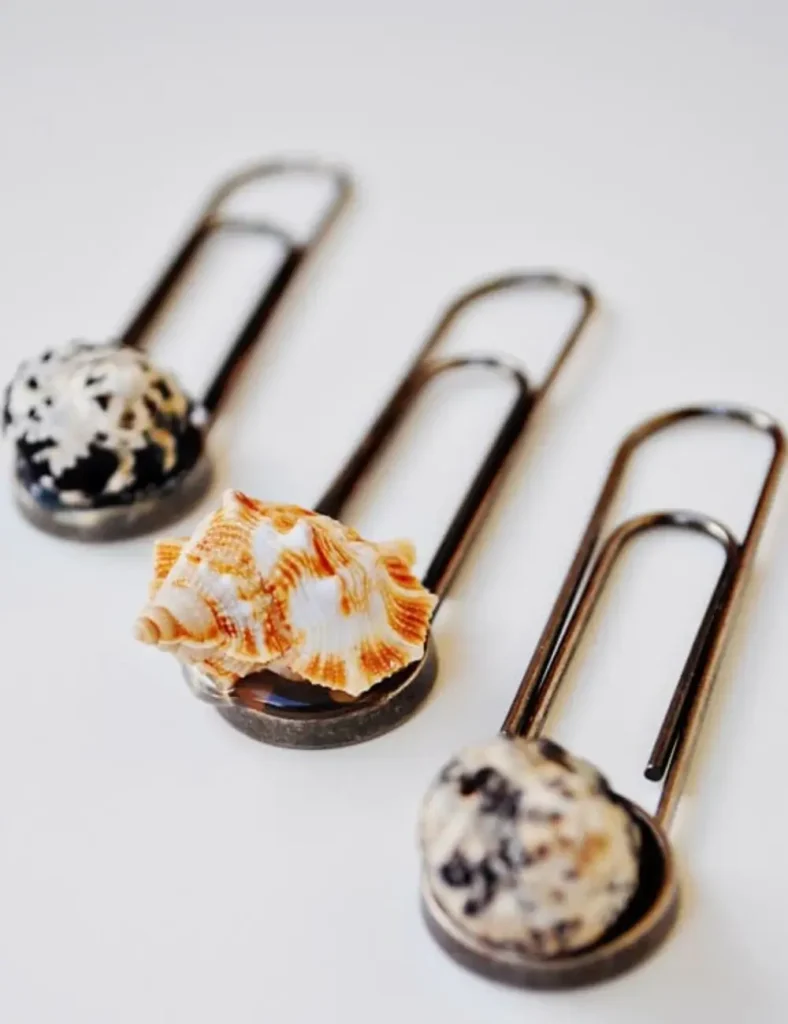
For a fast, functional keepsake, glue a small shell onto the rounded top of a paper clip with hot glue. They double as a cute desk accessory or a nautical-themed touch for place cards, menus, and invitations at a beach wedding or party.
19. Concrete and Scallop Shell Bookends
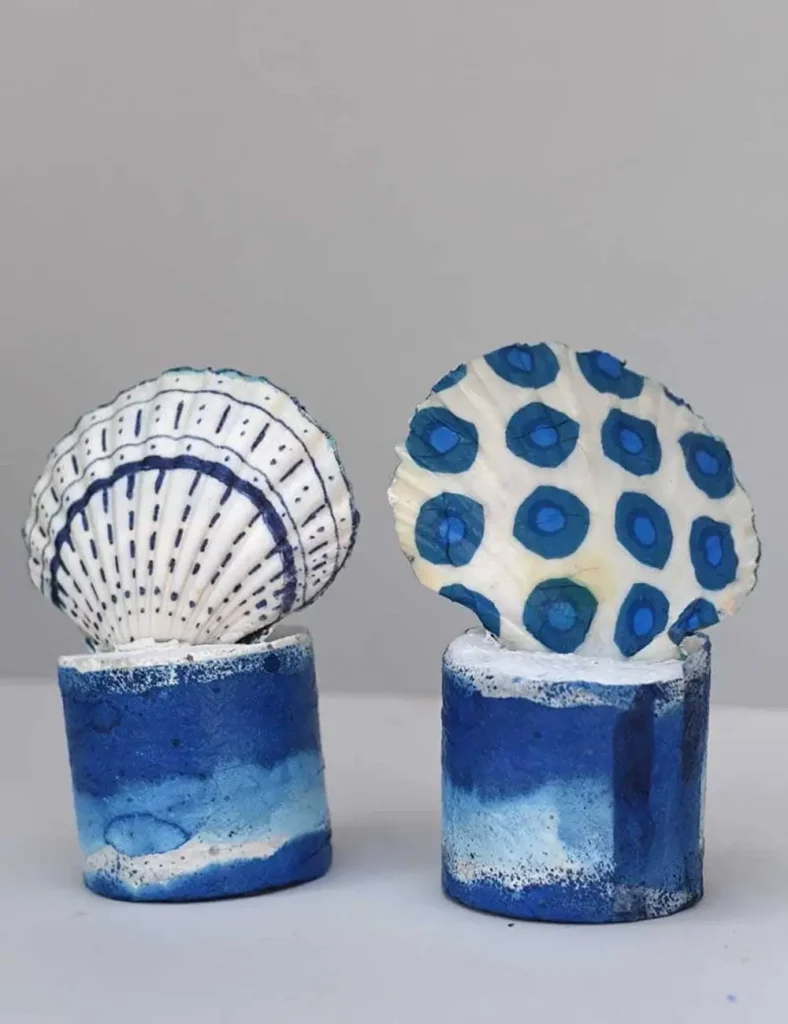
Combine concrete and shells for a bookend that’s both decorative and genuinely functional. Decorate the outside of two large scallop shells with permanent marker along their natural ridges, then decoupage the inside with patterned napkins. Set each shell into a slit cut into a cylindrical mold, pour in craft concrete, and let it cure so the shell stands upright. Finish by painting the concrete base white and decoupaging it to match.
20. Beachy Seashell Shadowbox
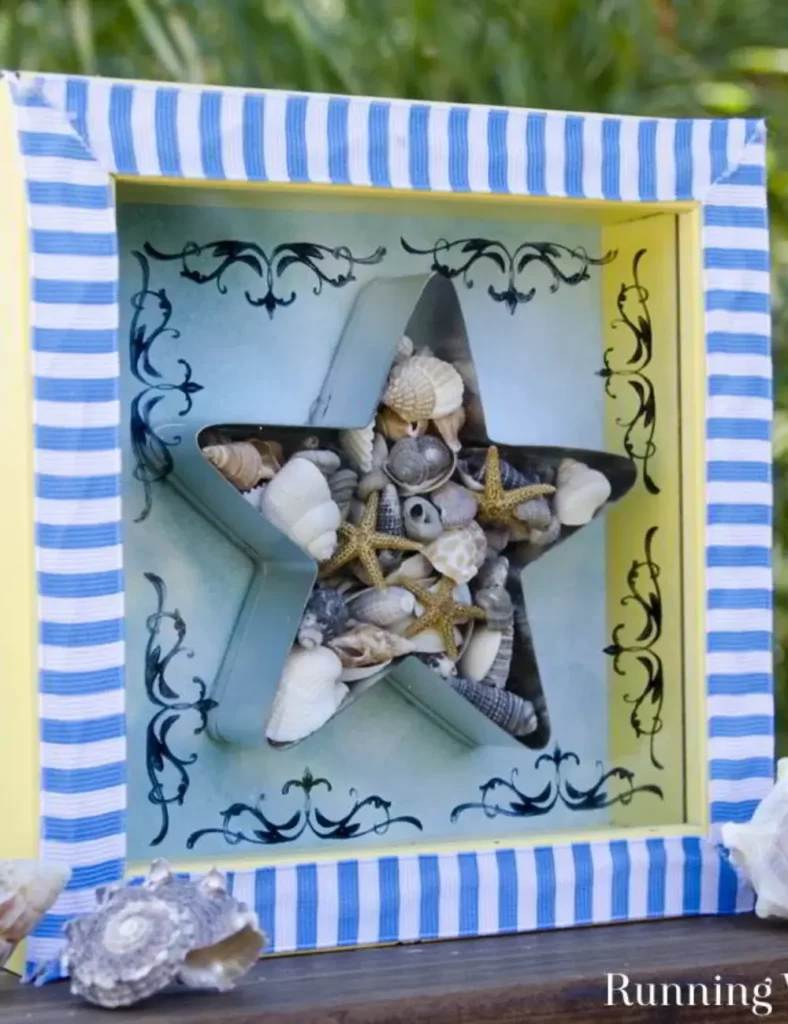
Turn a plain shadowbox into a mini display case for tiny shells. Glue a cookie cutter (a star shape works nicely) onto ocean-print scrapbook paper inside the box’s backing, then fill the cutter with tiny shells and a couple of small starfish, arranging the prettiest ones facing up. Reassemble the shadowbox and finish the edges with striped ribbon for a clean, gallery-ready look.
21. Clay and Scallop Shell Napkin Holder
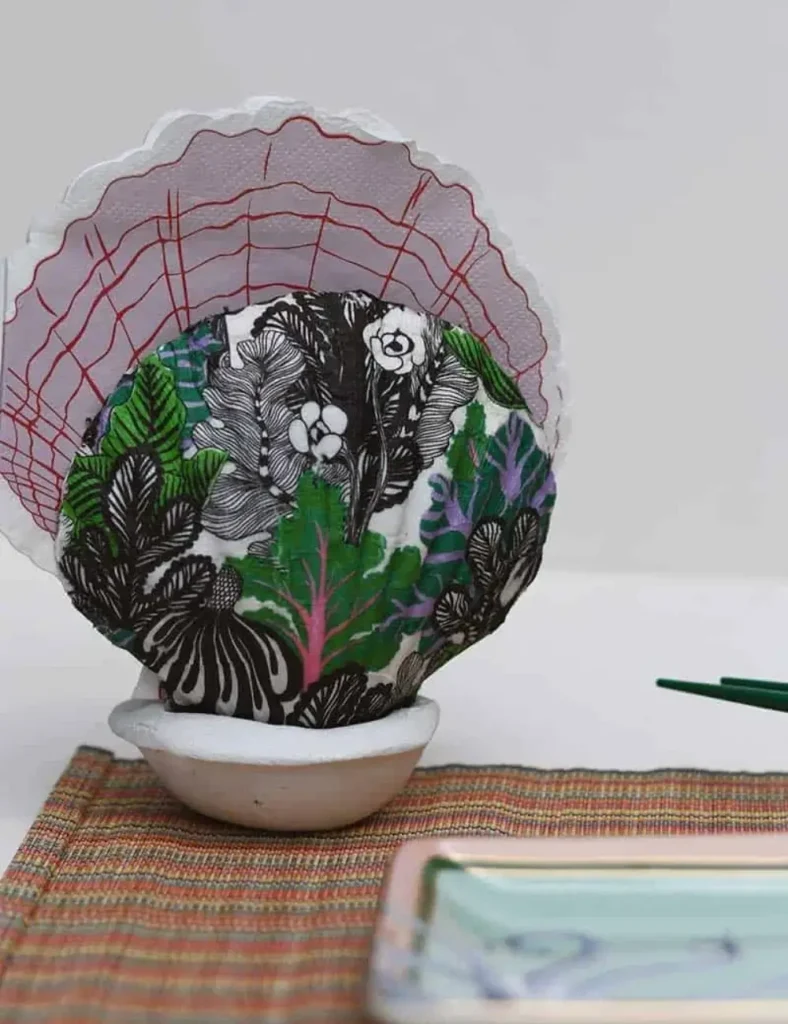
Turn leftover air-dry clay and two scallop shells into a functional table piece. Press a lump of clay into a small bowl mold to shape a flat base, then push two scallop shells upright into the clay, facing each other with a small gap between them. Let it air dry for a couple of days, sand any rough edges smooth, and slide folded napkins into the gap once it’s cured.
ALSO WORTH A LOOK: